Spark Plugs Replacement
23 Apr 2020- Vehicle: 2012 Mazda 3i, 2.0L, vin G
- Tools Used:
- 15mm box wrench
- 8mm box wrench
- Socket wrench with 10” extension (3” won’t be enough)
- 5/8” spark plug socket
- Parts Purchased:
- 4x NGK laser iridium spark plug 90083
- Di-electric grease
100k+ miles, a rough idle, sputtering engine starts, and a negative fuel trim meant it was time bid adieu to the old plugs. I should have replaced them at the recommended 75k miles, but I was too busy not being busy.
Spark Plug Info
- Stock spark plugs: NGK ILTR5A-13G (discontinued)
- New spark plugs: NGK LTR5BI-13 (aka NGK 90083)
NGK replaced the ILTR5A-13G with ILTR5K13 (90607) for Ford/Lincoln/Mercury vehicles and LTR5BI-13 (90083) for Mazda vehicles.
NGK LTR5BI-13 Specs
- Torque Spec: 7.2 - 14.5 lb. ft. against aluminum
- Longevity: 100k miles
- Gap: Pregapped to 0.05”
Procedure
-
Wait for the engine to cool down unless you’re a firebender or don’t mind some sick burns.
-
Pop off the plastic engine cover. If you’ve never done this, just pull up from the back of the cover with your hands. Do not eat the cover.
-
Use a 15mm wrench to remove the two plastic engine cover holders.
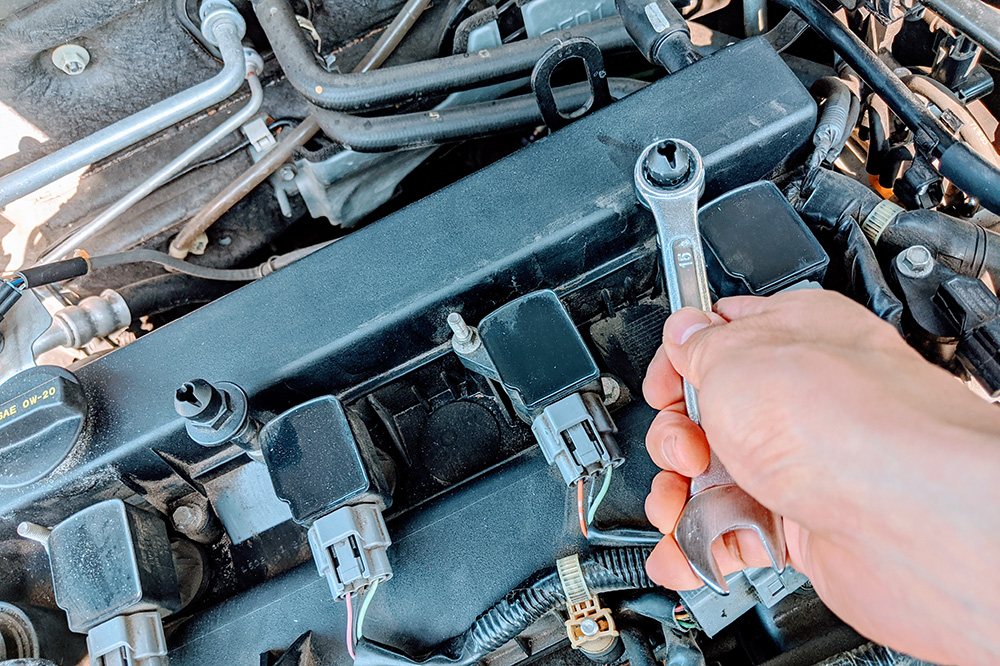
-
Disconnect the wire going to the first plug, and use a 8mm wrench to remove the screw holding the ignition coil in place.
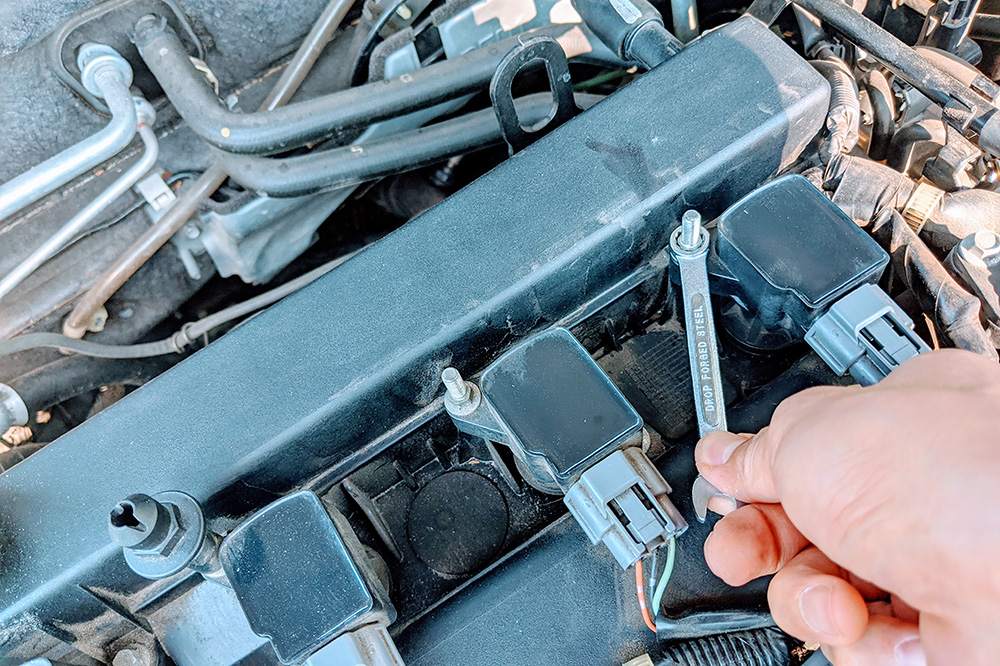
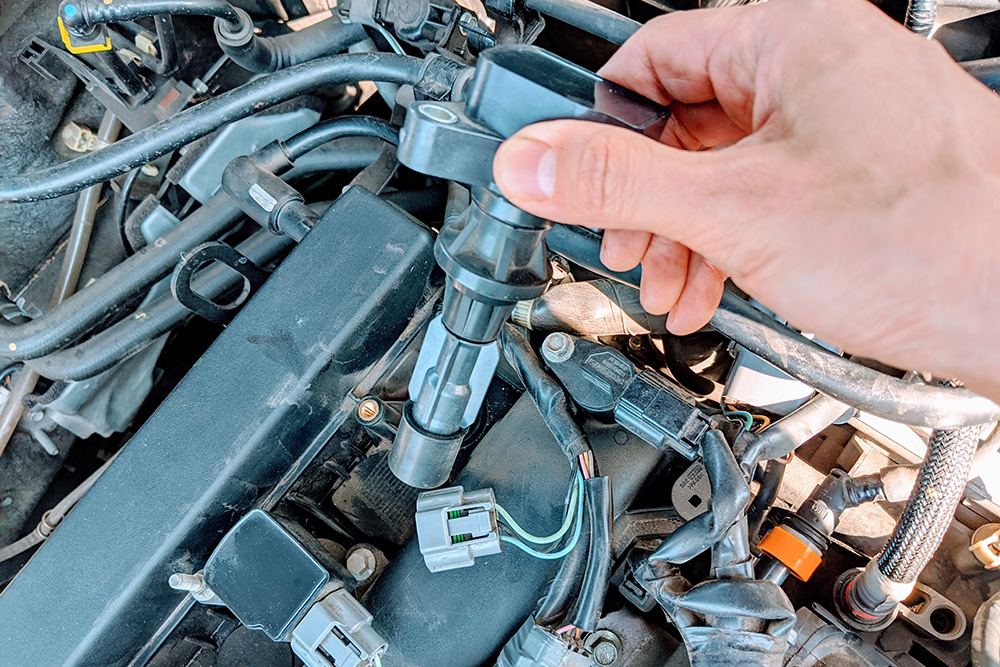
-
Gently remove the ignition coil (these are expensive!) and take care to prevent debris from falling into the spark plug hole unless you’re helping an annoying neighbor.
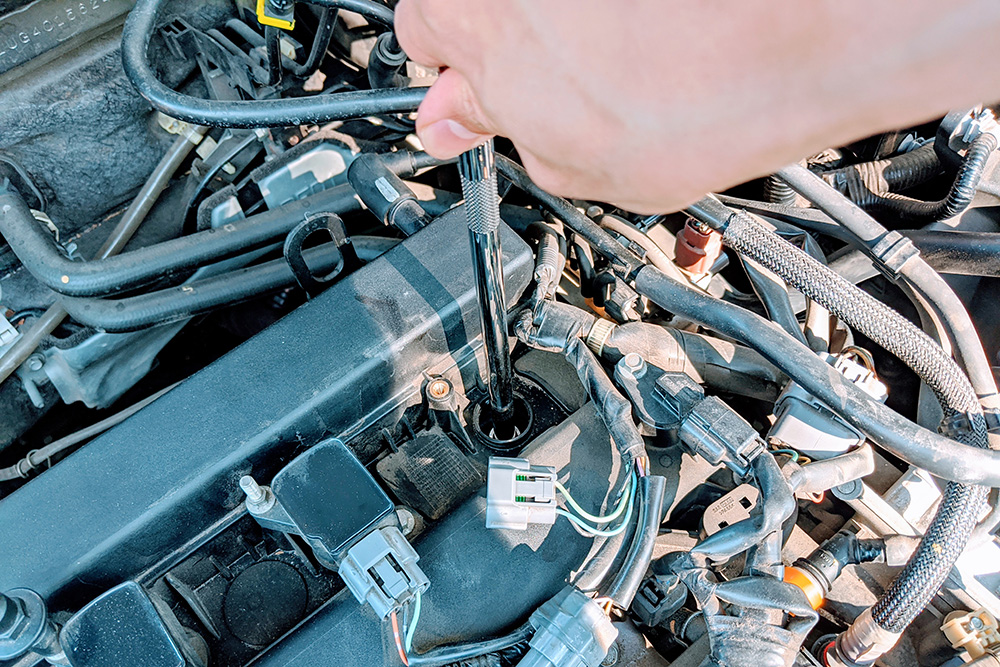
-
Remove the spark plug using a socket wrench with extension and spark plug socket. An over-torqued plug is stuff of nightmares, so if you have one, pray it doesn’t destroy the threads on the cylinder head.
-
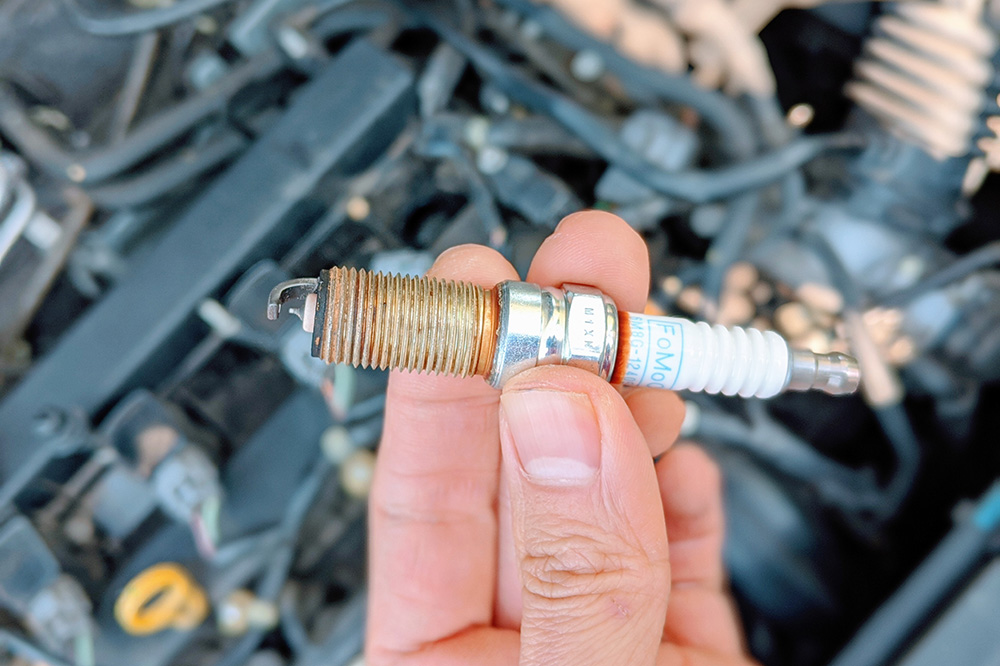
Nothing to do in this step except to check out this 100k+ miles spark plug.
-
Add a thin coating of di-electric grease to the ceramic portion of the new spark plug, and another thin layer to the inside of the rubber opening on the ignition coil. Tip: use a Q… tip. Be sure to not grease the spark plug electrode or the electrode contact inside the ignition coil. Di-electric grease is not non-conductive.
-
This one’s a freebie. According to NGK, their spark plug threads have a special coating that do not require any anti-seize. Don’t be a fool and over-torque your plugs because you anti-seized the crap out of them.
-
Another freebie. Don’t gap the spark plug. Iridium plugs are delicate, and plus, these are already pregapped to 0.05”. This is within the service manual’s spec of 0.049” - 0.053”.
- Screw the spark plug back into the cylinder head. Do NOT over-tighten. If you’re cool, tighten with a torque wrench to 7.2 to 14.5 foot pounds. If not, NGK’s own website says:
If a torque wrench is unavailable, finger tighten the spark plug, then use a plug wrench to tighten. 1/2-2/3 turn on plugs with a gasket. 1/12-1/8 turn on plugs with a tapered seat.
-
Screw the ignition coil back into place and reconnect the wire.
- Repeat for the other 3 plugs.
Results
- Reduced hesitance during start up
- Smoother idling
- Short-term and long-term fuel trims within healthy range