E-brake Adjustment
25 Apr 2020- Vehicle: 2012 Mazda 3i, 2.0L, vin G
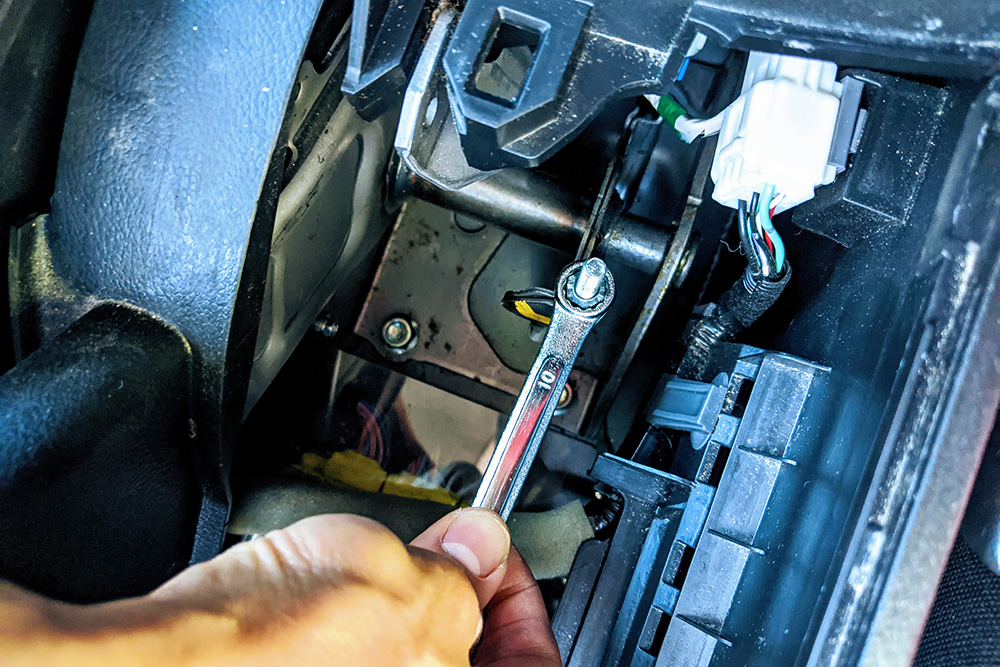
- Tools Used: 10mm box wrench
The hand break was practically pointing to the sky before engaging, so it was time to tighten this sucker.
Procedure
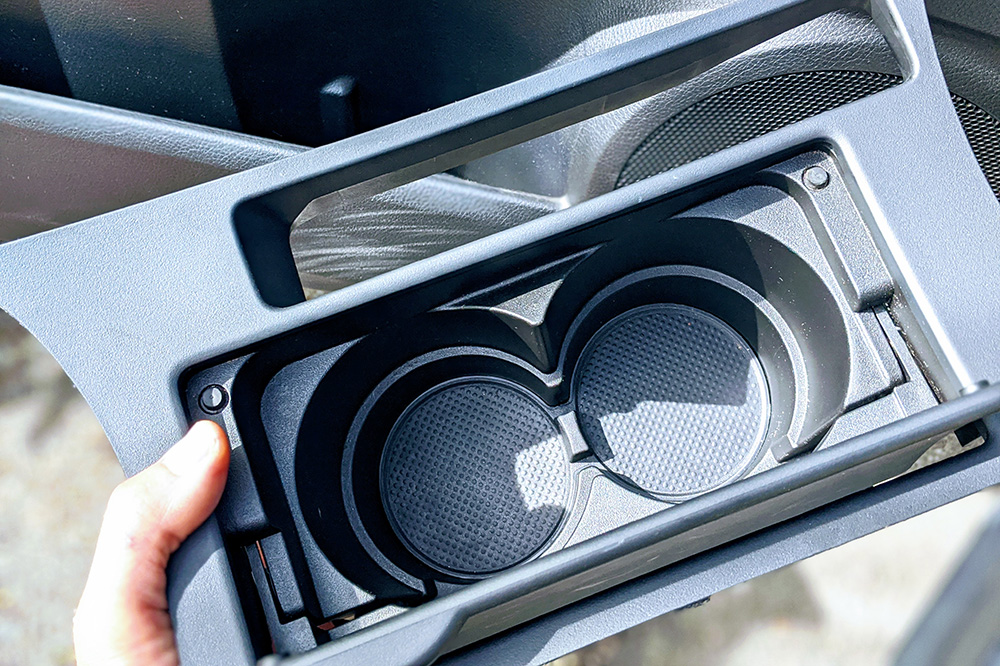
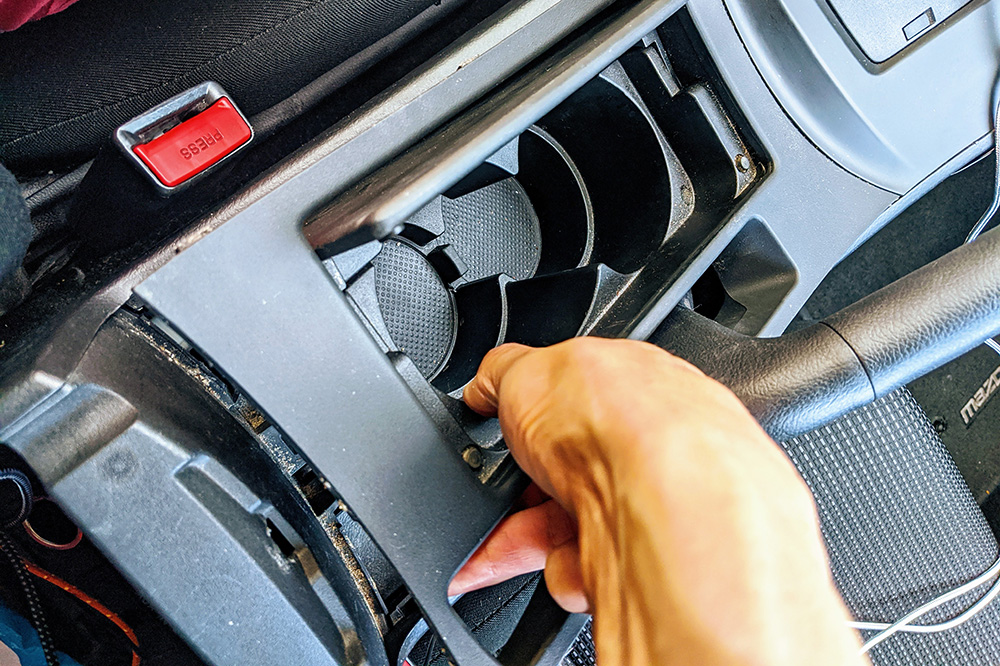
The cupholder panel, which also surrounds the hand brake, is held in place by a number of plastic tabs. Your mission is to find these tabs and unclip them without bloodying yourself.
-
Secure some Neosporin in case you engage in Mortal Kombat with the paneling.
-
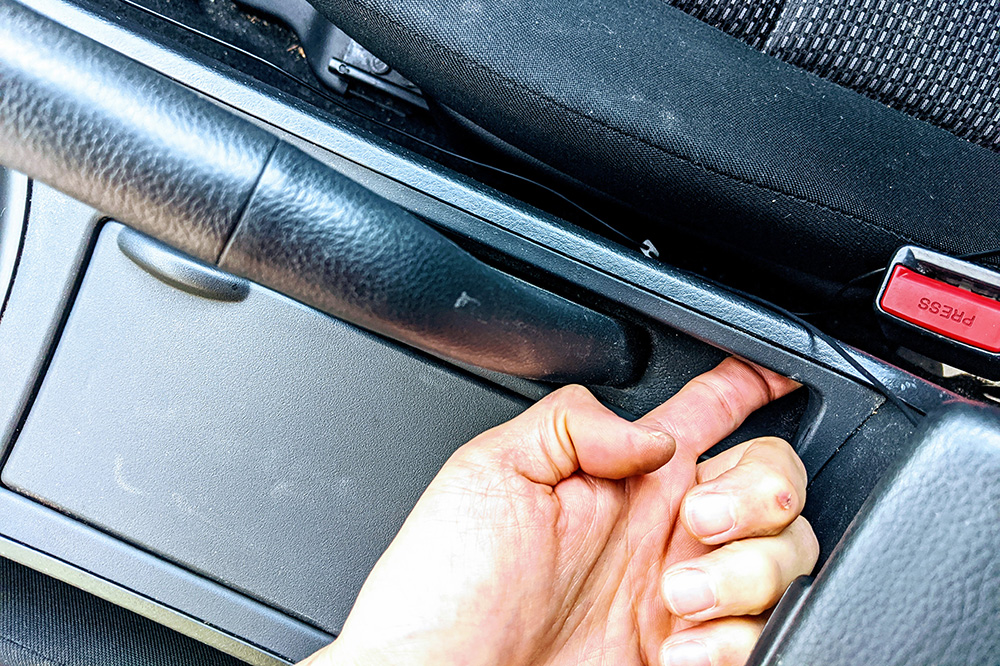
Find the hidden tabs as shown in the following photos and pull in and upward to unclip them. Notice the missing skin on my middle finger.

-
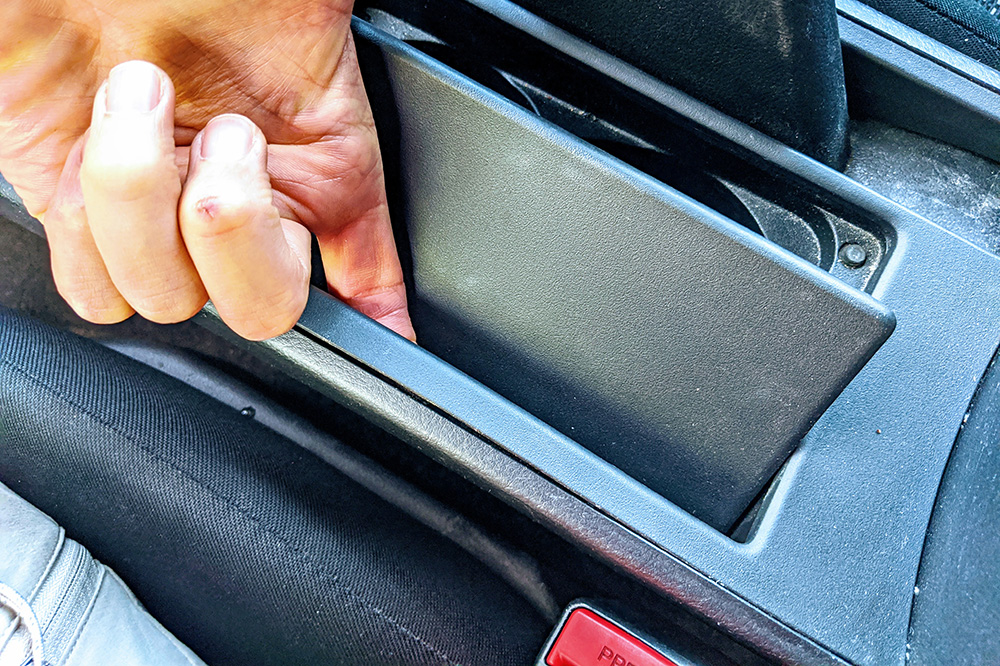
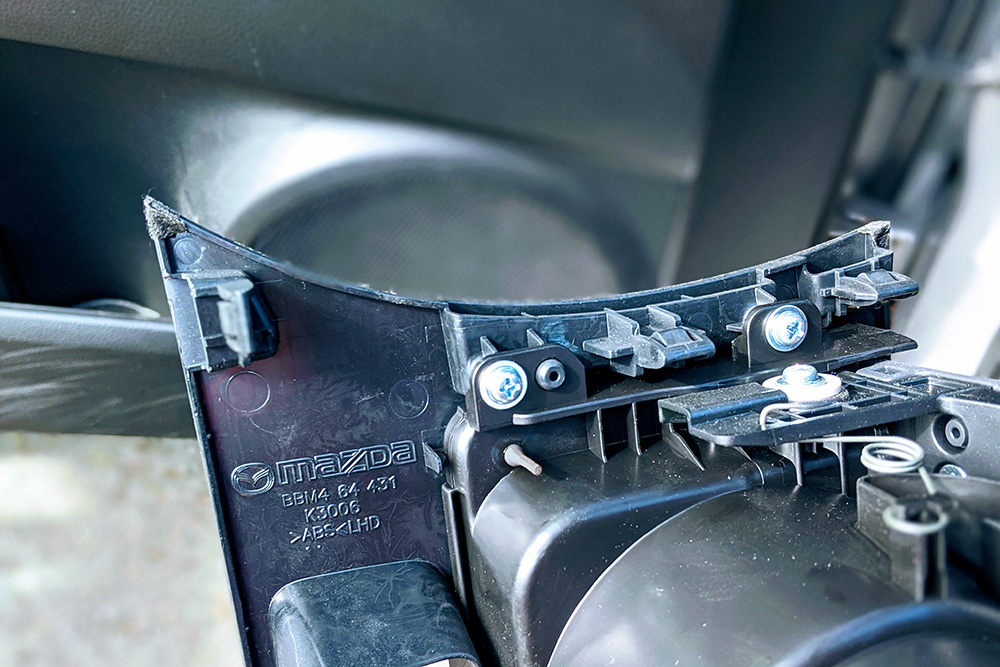
This next tab is the worst. I pried with a small, flat head screwdriver. You may notice the small dents I made in the plastic.
-
You should now be able to detach most of the cupholder tray as shown. If not, just yank around in random spots until the back portion comes free. The front of the tray is still secured by another set of tabs.
-
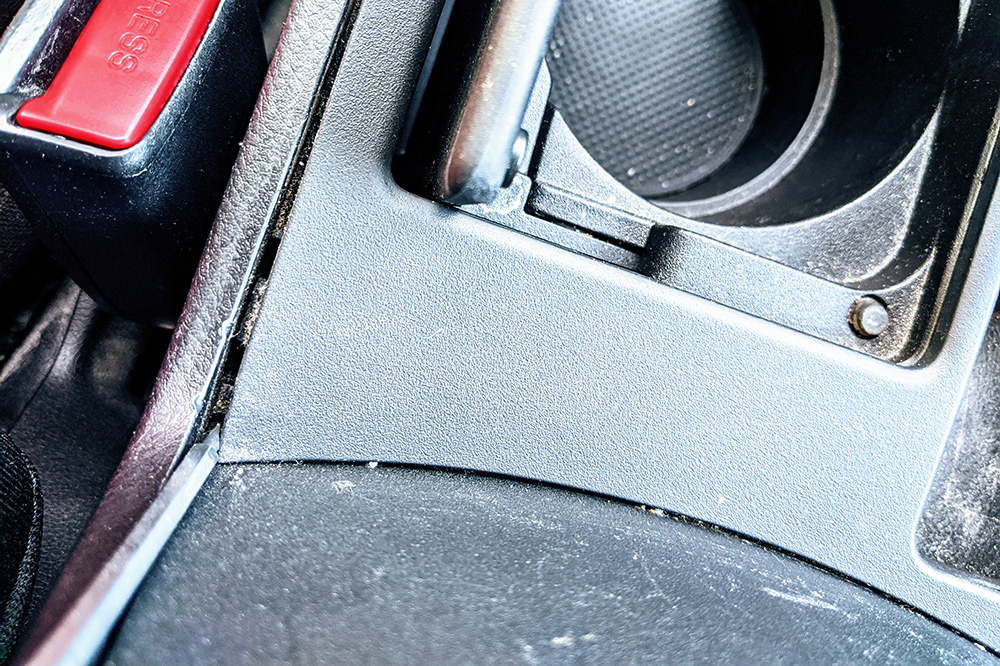
The panel’s liberation nears, but it’s no time to get cocky. Take note of the positions and orientations of the remaining tabs (see photo), and remove the panel however you can.
-
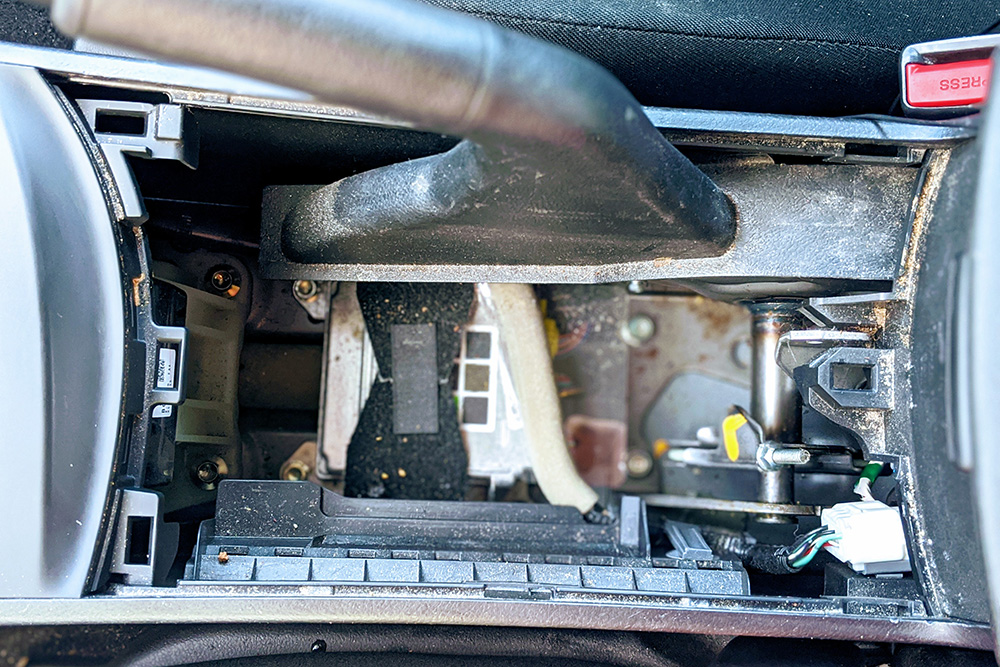
With the panel removed, you’ll see a 10mm nut threaded over a long bolt. Tightening the nut tightens the e-brake.
-
Don’t be a savage. Clean that Cheeto dust and dried blood off that cupholder before reinstalling it.